Considering solar energy for your home? This guide on how to install solar panels on a residence simplifies the process, from choosing panels to installation. By making the switch, you’ll reduce your electricity bills and contribute to a sustainable future. Let’s explore how to harness the sun’s power for your home!
1. Introduction to Solar Panel Installation
Installing a solar panel system is not only a great way to reduce your electricity bills but also a significant step towards a more sustainable lifestyle. Solar panels convert sunlight into electricity through photovoltaic cells, and with the right setup, you can harness this energy to power your home. This guide will walk you through the process of installing a solar panel system, from start to finish, ensuring that even beginners can successfully complete the project.
2. Assessing Your Home’s Solar Potential
Before you dive into the installation process, it’s crucial to evaluate whether your home is suitable for solar panels. This assessment will help you understand if you can make the most of solar energy.
Roof Inspection start by inspecting your roof to determine if it’s in good condition. Here’s what to look for:
• Roof Age and Condition: Ensure that your roof is relatively new or in good repair. Replacing a roof can be expensive and disruptive, so it’s best to address any issues before installing solar panels.
• Structural Integrity: Assess the structural integrity by examining for any indications of damage or vulnerability. The roof must be strong enough to support the weight of the solar panels and mounting equipment.
Sunlight Exposure
The efficient generation of electricity by solar panels is contingent upon their access to sufficient sunlight:
• Shading: It is essential to recognize any potential objects that could create shadows on your roof, including trees, chimneys, or adjacent structures. The presence of shade can greatly influence the efficiency of your solar panels.
• Orientation: Roofs that face south typically capture the highest amount of sunlight in the Northern Hemisphere. If your roof faces east or west, you may still be able to generate sufficient energy, but south-facing roofs are ideal.Roof Space and Angle
• Available Space: Ensure you have enough roof space to accommodate the number of solar panels required to meet your energy needs.
• Roof Angle: The angle of your roof affects how much sunlight your panels will receive. Ideally, solar panels should be installed at an angle that maximizes sunlight exposure, which often matches the latitude of your location.
3. Designing Your Solar Panel System
Designing your solar panel system involves several key steps to ensure that it meets your energy needs and fits your home’s specifications.
Calculate Your Energy Needs
Evaluate the amount of electricity you consume each month and year by consulting your utility bills, where this information is readily available. Understanding your energy consumption will help you design a system that generates enough power to meet your needs.
Estimate System Size
Based on your energy consumption, estimate the size of the solar panel system you need. A standard residential solar system typically falls within the range of 3kW to 10kW. To ascertain the appropriate system size, follow these steps:
• Daily Consumption: Transform your monthly electricity consumption into a daily figure by dividing the total by 30.
• Solar Panel Production: Assess the output of each solar panel, which generally ranges from 250 to 400 watts.
• Calculation of System Size: Divide your daily energy requirements by the average number of sunlight hours available in your area to establish the necessary number of panels.
Choose Panel Type
Identify the solar panel type that is most appropriate for your needs:
• Monocrystalline Panels: Acknowledged for their high efficiency and extended durability, these panels are made from a single crystal structure. They are effective in low-light conditions and are distinguished by their sleek black appearance.
• Polycrystalline Panels: Made from multiple silicon crystals, these panels are less efficient than monocrystalline panels but are generally more affordable.
• Thin-Film Panels: These panels are lightweight and flexible but have lower efficiency compared to crystalline panels. They are often used for large-scale installations where space is not a constraint.
4. Gathering Necessary Permits and Approvals
Before starting the installation, make sure you have all the required permits and approvals to avoid legal issues and ensure your system meets local regulations.
Building Permits
Contact your local municipality to determine if you need a building permit for your solar panel installation. The prerequisites may fluctuate depending on your specific location.Homeowners Association (HOA)If you live in a community governed by a Homeowners Association (HOA), check their guidelines regarding solar panel installations. Some HOAs have specific rules or aesthetic requirements that you must follow.
Utility Company
Inform your utility company about your plan to install solar panels. They may have specific requirements for connecting your system to the grid, and you might need to enter into a net metering agreement. Net metering allows you to receive credits for excess electricity your system generates and feeds back into the grid.
5. Preparing for Installation
Proper preparation ensures a smooth installation process. Gather the necessary tools and materials and ensure you have a clear plan.
Tools and Materials
• Tools: Ladder, drill, screwdrivers, wrenches, and a level.
• Materials: Solar panels, mounting brackets, inverter, wiring, grounding equipment, and electrical connectors.
• Safety Gear: Hard hat, gloves, safety glasses, and a harness if working on a roof.
Installation Plan
Create a detailed installation plan that outlines the layout of the solar panels, the placement of the inverter, and the routing of electrical wiring. This plan will guide you through the installation process and ensure that everything is set up correctly.
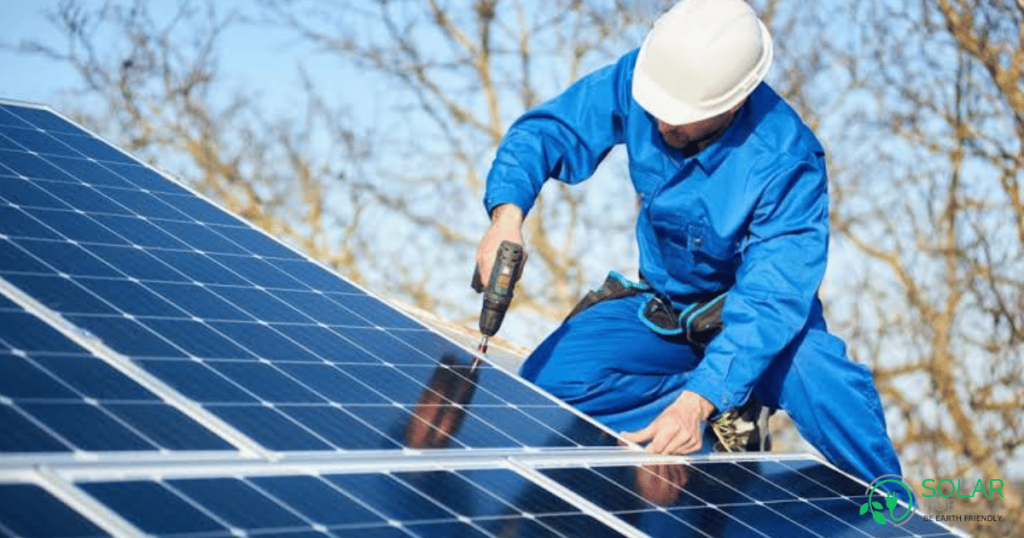
6. Installing the Solar Panel System
Kindly proceed with the installation of your solar panel system by following these outlined steps:
Install the Mounting System
• Position Mounting Brackets: Arrange the mounting brackets on your roof following the guidelines set forth in your design plan. Ensure they are properly aligned and securely attached to the roof structure.
• Attach Mounting Rails: Secure the rails to the brackets. To ensure proper support for the solar panels, these rails must be both level and securely affixed.Mount the Solar Panels
• Place Panels on Rails: Position the solar panels on the mounting rails, ensuring they are correctly aligned and spaced.
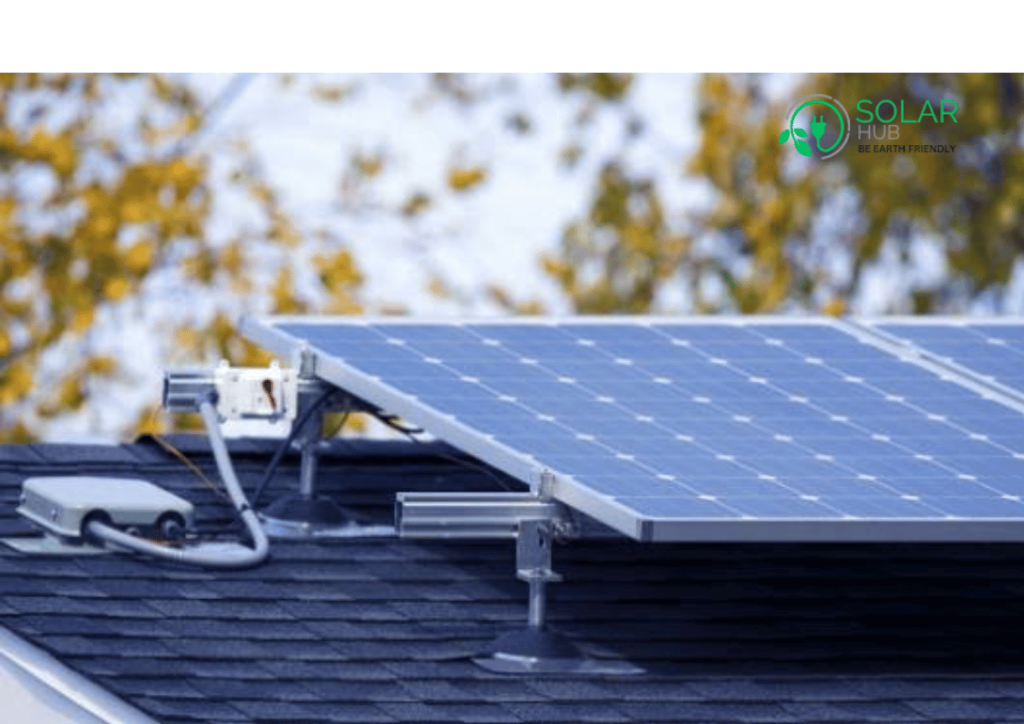
• Secure Panels: Use clamps or bolts to attach the panels to the rails. Ensure all connections are tight and the panels are securely mounted.Connect Electrical Components
• Install the Inverter: Mount the inverter in a suitable location, usually near your main electrical panel. The inverter should be installed in a shaded, well-ventilated area to ensure optimal performance.
• Wiring: Connect the solar panels to the inverter using the appropriate cables and connectors. Follow the manufacturer’s instructions for wiring to avoid errors and ensure safety.
• Grounding: To ensure safety and prevent electrical malfunctions, it is crucial to ground the solar panel system effectively.Test the System
• Check Connections: Inspect all electrical connections to ensure they are secure and correctly installed.
• Power Up: Engage the inverter and assess the operational efficiency of the system. Check that it is generating electricity and operating as expected.
7. Connecting to the Grid For systems connected to the grid, follow these additional steps:
Utility Inspection
Schedule an inspection with your utility company to verify that your system meets their requirements and standards. This inspection is essential for ensuring that your system is safe and compliant.
Net Metering Setup
If applicable, set up net metering with your utility company. This allows you to receive credits for the excess electricity your system produces and feeds back into the grid. Net metering can significantly reduce your electricity bills and provide financial benefits.
8. Maintaining Your Solar Panel System
Consistent maintenance is essential for ensuring the efficient operation of your solar panel system. Here are some maintenance tips:
Cleaning Panels
• Frequency: Clean the panels regularly to remove dust, debris, and dirt. The rate at which cleaning should occur is determined by both your location and the prevailing environmental factors.
• Method: Use a soft cloth or sponge and a mild detergent to clean the panels. Steer clear of using abrasive substances that could adversely affect the surface.Inspecting Components
• Mounting System: Check the mounting brackets and rails for signs of wear or damage. Verify that all components are firmly affixed.
• Wiring: Examine the wiring for any indications of deterioration, fraying, or damage. Replace any damaged wires immediately to prevent issues.
• Inverter: Monitor the inverter’s performance and check for any error messages or alerts. Kindly refer to the manufacturer’s documentation for guidance on troubleshooting.
Monitoring Performance
• Performance Monitoring Tools: Use monitoring tools or apps provided by the inverter manufacturer to track your system’s performance. Regularly check the data to ensure the system is generating the expected amount of electricity.
• Address Issues Promptly: If you notice any discrepancies in performance or system issues, address them promptly to prevent further problems and maintain efficiency.
9. Troubleshooting Common Issues
Here are some common issues you may encounter with your solar panel system and how to address them:
Reduced Energy Production
• Shading: Check for any new sources of shading that may have developed. Trim or remove obstructions as needed.
• Dirty Panels: Clean the panels if they are dirty or covered in debris.
• Inverter Issues: Refer to the inverter’s manual for troubleshooting tips and error codes. Contact the manufacturer if needed.System Errors
• Error Codes: Consult the inverter’s user manual for explanations of error codes and recommended actions.
• Technical Support: If you’re unable to resolve issues on your own, contact the manufacturer or a professional for assistance.
10. Conclusion
Installing a solar panel system can be a rewarding project that provides significant benefits for both your finances and the environment. By following this comprehensive guide, you can navigate the installation process with confidence. From assessing your home’s solar potential to maintaining your system, each step is crucial for ensuring that your solar panels operate efficiently and effectively.If you encounter challenges or feel unsure about any part of the process, don’t hesitate to seek professional help. A well-installed solar panel system can offer long-term savings and contribute to a cleaner, greener future.